Chicago Screws: The Secret to Creating Your Own Layered Leather Journal
**Part 1: Demystifying the Chicago Screw - Structure and Superior Advantages**
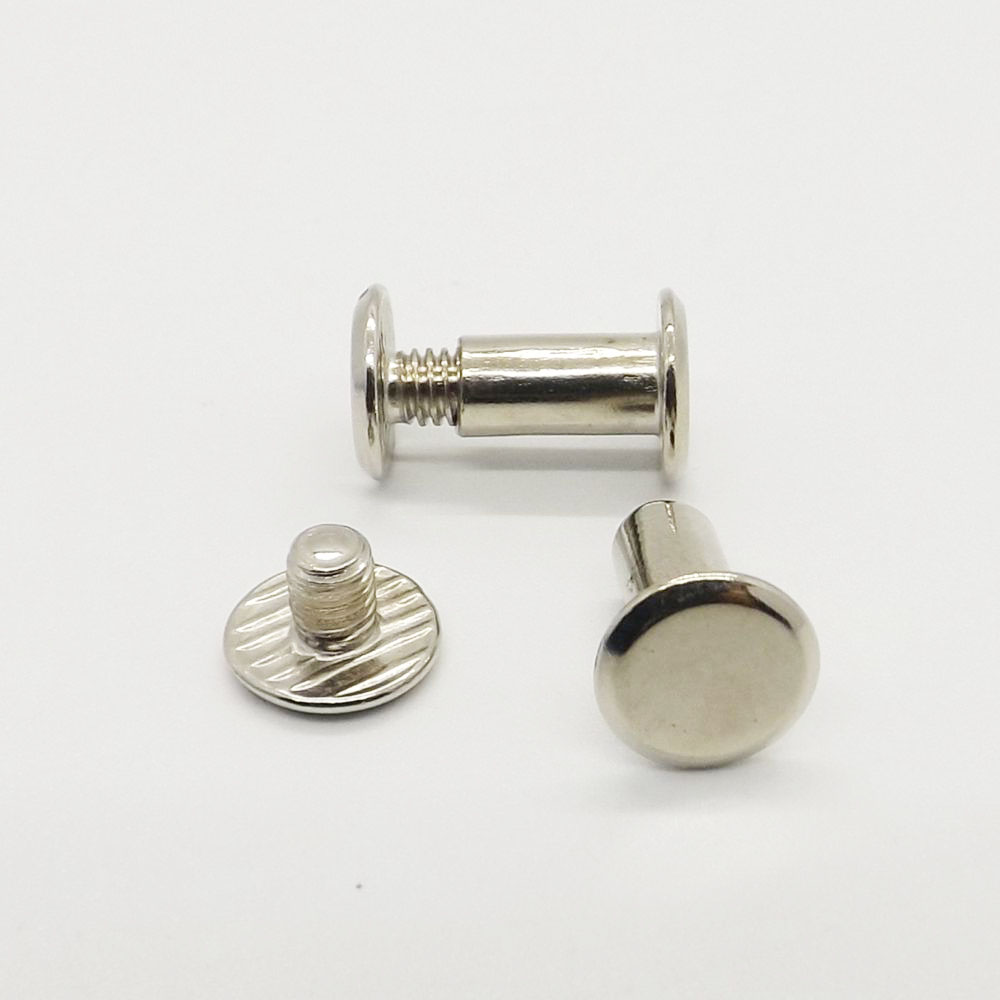
At first glance, a Chicago screw might seem deceptively simple. Also known colloquially as a "post screw," "binding screw," or "sex bolt," it is a mechanical fastener consisting of two primary parts:
1. **The Male Threaded Post:** This is a hollow, cylindrical post with a threaded interior and a slotted or Allen-keyed head.
2. **The Female Receptor:** This is the matching component with an externally threaded barrel and a head that mirrors the male post.
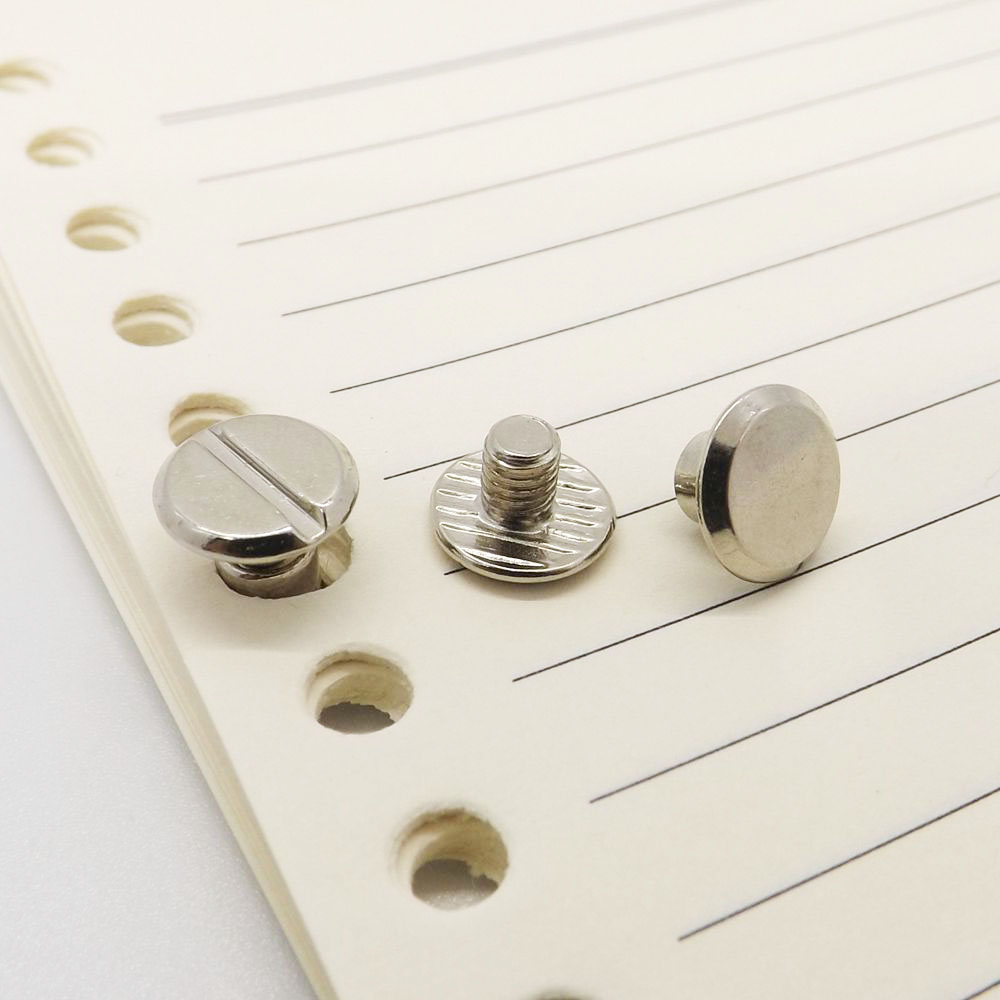
The magic happens when these two parts are screwed together, sandwiching your materials—in this case, leather covers and paper signatures—between the two heads.
**Why this simple design is a revolution for journal makers:**
* **Unparalleled Detachability & Reusability:** This is the cornerstone of their appeal. Unlike permanent bindings, Chicago screws can be unscrewed and re-fastened infinitely without damage. This allows you to:
* **Refill with Ease:** When you fill the last page of your journal, you don't retire the beautiful cover. Simply unscrew the posts, remove the filled signature, and slot in a new one. Your journal is reborn.
* **Reorganize Content:** Creating a project-specific journal? You can easily swap out sections, add graph paper for one project and lined for another, or insert clear pockets for receipts and mementos.
* **Correct Mistakes:** If you misalign a hole during the creation process, you can simply disassemble and correct it, a luxury not afforded by glued or stitched bindings.
* **Perfect, Effortless Lay-Flat Capability:** Anyone who has struggled with a tightly-bound book knows the frustration of pages that refuse to stay open. Chicago screws solve this elegantly. The binding posts create a small, consistent gap between the cover and the spine, allowing the journal to open completely flat from the first page to the last. This is a boon for writers, artists, and bullet journalists who need every inch of the page.
* **Unmatched Durability and Strength:** Where glue can become brittle and thread can wear or snap, Chicago screws are made of metal. They form a mechanical bond that is incredibly resistant to pulling, twisting, and general wear and tear. A journal bound with Chicago screws can withstand a lifetime of use in a backpack, travel bag, or on a workshop bench. The binding will not loosen over time if properly tightened, ensuring the integrity of your work.
* **Aesthetic Versatility:** Beyond pure function, Chicago screws offer a distinct industrial-chic aesthetic. They act as polished metallic accents that can complement or contrast with the leather. Available in various finishes, they can be the subtle, final detail or the bold, standout feature of your design.
### **Part 2: The Ideal Choice - Chicago Screws vs. Traditional Binding Methods**
To truly appreciate the Chicago screw, it's essential to compare it to the other common binding methods for journals and notebooks.
**1. vs. Saddle Stitching (Staples):**
* **Staples:** Cheap and fast for low-page-count booklets. However, they are not durable, cannot lay flat effectively, and are impossible to refill. They lend a temporary, disposable feel.
* **Chicago Screws:** Create a permanent, high-value object that is infinitely reusable and lays perfectly flat. The clear winner for a heirloom-quality journal.
**2. vs. Perfect Binding (Glued Spine, like most paperback books):**
* **Perfect Binding:** Allows for a printed spine but is notoriously fragile. Pages fall out easily with heavy use, and it has no lay-flat ability. It is a completely non-refillable, disposable binding.
* **Chicago Screws:** The pages are securely clamped, making it virtually impossible for them to detach. The structure is defined by its durability and reusability.
**3. vs. Spiral/Wire-O Binding:**
* **Spiral/Wire-O:** Excellent lay-flat capability and is somewhat refillable with specialized machinery. However, the coils can be bent out of shape, snag on things in a bag, and the overall aesthetic is often associated with commercial or academic work, lacking the premium feel of a leather journal.
* **Chicago Screws:** Offers similar lay-flat performance but in a much more robust and elegant package. There are no protruding parts to bend or snag, making it ideal for portability.
### **Part 3: A Creator's Guide - Selecting the Perfect Size and Material**
Choosing the right Chicago screws is critical to the function and look of your final product.
**A. Sizing: Length and Diameter**
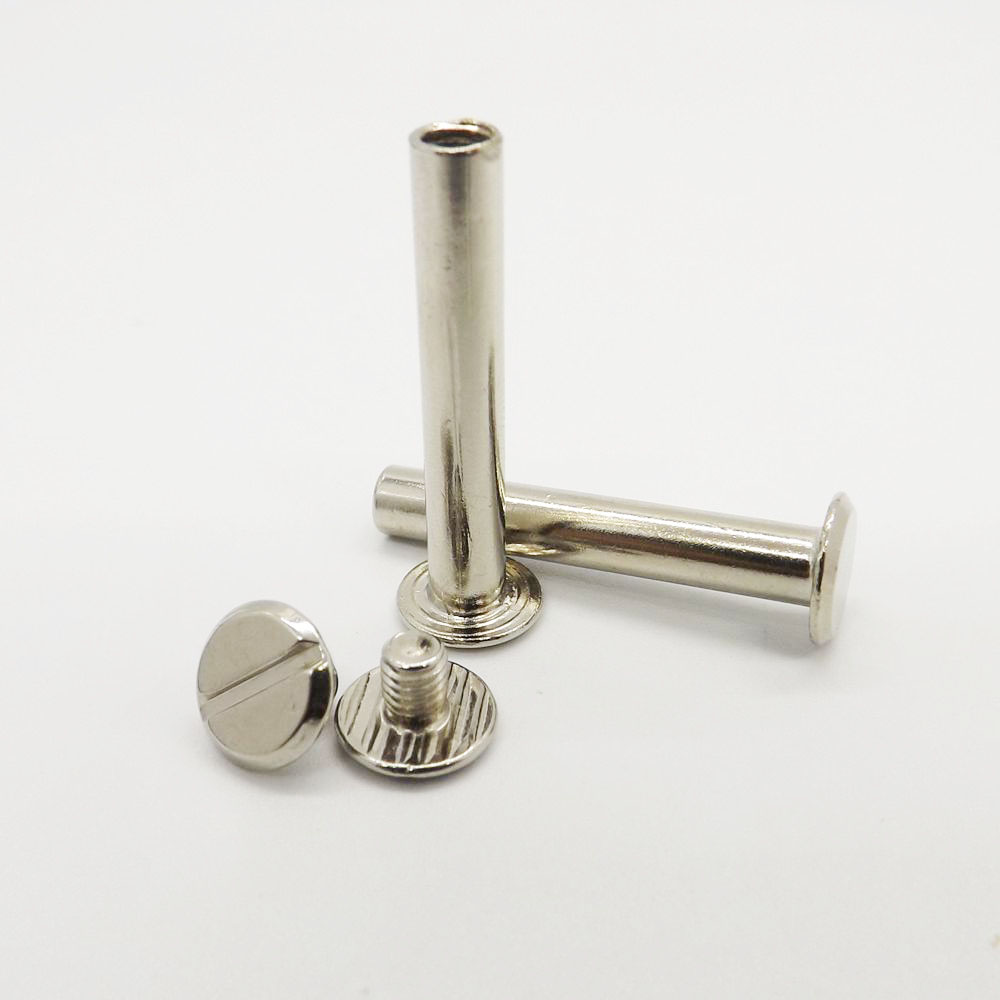
Sizing is the most common point of confusion. It is typically denoted by two numbers: **Post Diameter x Post Length.**
* **Diameter (Post Barrel Size):** This determines the size of the hole you need to punch. Common sizes for journals are:
* **1/4" (approx. 6mm):** A robust, standard choice for medium to large journals. Provides a strong visual presence.
* **3/16" (approx. 5mm):** A great versatile size for most journals, from pocket-sized to A5.
* **1/8" (approx. 3mm):** A more delicate option for smaller, sleeker notebooks or for creating multi-post bindings along the spine.
* **Length (The Crucial Measurement):** This is the length of the *post barrel only*, **not including the head**. To select the correct length, you must calculate the **total thickness** of your assembled journal.
1. Stack your leather covers, all internal pages, and any other layers (e.g., cardstock dividers).
2. Compress the stack as it would be in the finished book.
3. Measure the thickness with calipers for accuracy.
4. **The Rule:** Choose a screw with a post length that is **slightly less than your total thickness** (e.g., if your stack is 10mm thick, a 3/4" or 19mm post would be far too long; a 3/8" or 9-10mm post would be ideal). A post that is too long will not clamp the materials tightly, while a post that is too short will not engage the threads properly.
**Step 1: Design and Cut Your Materials**
* **Covers:** Decide on your journal's final dimensions (e.g., A5 is 148mm x 210mm). Cut two identical pieces of leather for the front and back covers. You can add a third, thinner strip for the spine if you desire, but it's not necessary with a post-bound system.
* **Inner Pages:** Cut your paper to size. A small overhang (1-2mm) on the three outer edges can be trimmed later for a clean finish. For a professional look, fold your paper into signatures (groups of 4-5 sheets) and then trim the folded edge.
**Step 2: Precise Hole Punching - The Most Critical Step**
Accuracy here is everything. Misaligned holes will result in a crooked, dysfunctional journal.
1. **Create a Template:** The best method is to create a paper or cardstock template. Stack all your components (covers and paper) and clamp them tightly. Using a ruler and awl, mark the positions for your posts. For an A5 journal, two posts are standard, placed 2-3 inches from the top and bottom of the spine edge. You can use three for a larger journal.
2. **Punch the Covers:** Place your template on the leather cover and use the awl to transfer the hole marks. Using your rotary punch (select the die that matches your screw diameter) or a drill press, punch clean, vertical holes through both covers. A drill press is superior for perfect perpendicular holes.
3. **Punch the Paper:** This is where the template is essential. Keep your paper stack tightly clamped. Using your template, mark the hole positions. You can then use the drill press (highly recommended) or a powerful hand drill with a sharp bit to punch through the entire stack at once. Ensure you are drilling on a sacrificial wooden board.
**Step 4: Assembly and Installation**
1. **Dry Fit:** Assemble your journal: back cover, paper stack, front cover. Insert the Chicago screw posts through the holes to check the alignment. Everything should sit flush and square.
2. **Final Assembly:** Disassemble. Now, reassemble in the correct order. Insert the **male (post) side** through the back cover, then through the paper, and finally through the front cover.
3. **Screw It Together:** From the front cover side, screw the **female (receptor) side** onto the posts. **Do not overtighten!** You want it snug enough so the journal doesn't wiggle, but not so tight that you compress and damage the paper fibers or warp the covers. Finger-tight plus a quarter-turn with a tool is usually sufficient.
4. **Final Touches:** If your paper has an overhang, now is the time to trim it flush with the covers using a sharp blade and a metal ruler. You can then burnish or paint the paper edges for a finished look.
### **Conclusion: Your Story, Perfectly Bound**
The Chicago screw is more than just a fastener; it is a philosophy of creation. It empowers you to build not just a single journal, but a system—a permanent cover that houses a constantly evolving record of your thoughts, sketches, and adventures. It embraces impermanence in content while championing permanence in form.

